

Introduction
User authentication is a core requirement of almost every mobile application. Whether you are building an e-commerce app, LMS, social media platform, or university portal system, you must implement a secure and user-friendly Login and SignUp interface.
In this complete guide, you will learn:
-
How to create Login and SignUp UI in Flutter
-
How to use
TextFormFieldwith validation -
How to switch between Login and Register screens
-
How to toggle password visibility
-
How to manage form state using
StatefulWidget -
Clean and professional UI design approach
This guide is practical and production-oriented.
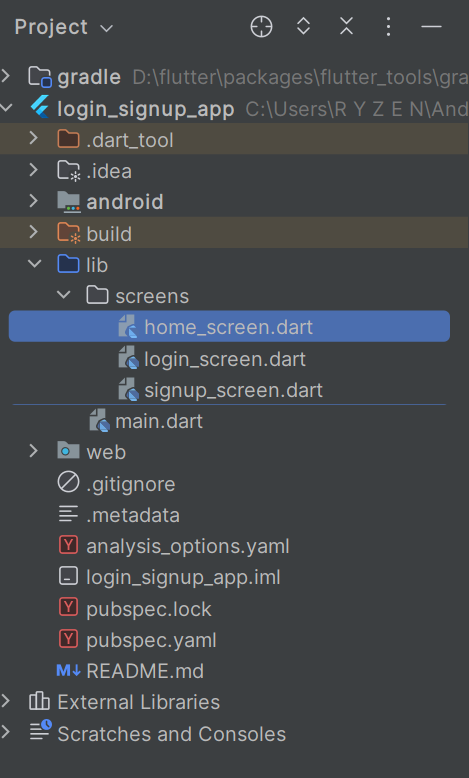
Project Structure
Step 1: Setup Main File
main.dart
import 'package:flutter/material.dart';
import 'screens/login_screen.dart';

void main() {
  runApp(MyApp());
}

class MyApp extends StatelessWidget {
  @override
  Widget build(BuildContext context) {
    return MaterialApp(
      debugShowCheckedModeBanner: false,
      title: 'Flutter Auth UI',
      theme: ThemeData(
        primarySwatch: Colors.blue,
      ),
      home: LoginScreen(),
    );
  }
}
Step 2: Create Login Screen
login_screen.dart
import 'package:flutter/material.dart';
import 'home_screen.dart';
import 'signup_screen.dart';


class LoginScreen extends StatefulWidget {
  @override
  _LoginScreenState createState() => _LoginScreenState();
}

class _LoginScreenState extends State<LoginScreen> {

  final _formKey = GlobalKey<FormState>();
  final emailController = TextEditingController();
  final passwordController = TextEditingController();

  bool isPasswordHidden = true;

  @override
  Widget build(BuildContext context) {
    return Scaffold(
      body: Padding(
        padding: EdgeInsets.all(20),
        child: Form(
          key: _formKey,
          child: Column(
            mainAxisAlignment: MainAxisAlignment.center,
            children: [

              Text(
                "Login",
                style: TextStyle(fontSize: 28, fontWeight: FontWeight.bold),
              ),

              SizedBox(height: 30),

              // Email Field
              TextFormField(
                controller: emailController,
                decoration: InputDecoration(
                  labelText: "Email",
                  border: OutlineInputBorder(),
                ),
                validator: (value) {
                  if (value == null || value.isEmpty) {
                    return "Please enter email";
                  }
                  if (!value.contains('@')) {
                    return "Enter valid email";
                  }
                  return null;
                },
              ),

              SizedBox(height: 20),

              // Password Field
              TextFormField(
                controller: passwordController,
                obscureText: isPasswordHidden,
                decoration: InputDecoration(
                  labelText: "Password",
                  border: OutlineInputBorder(),
                  suffixIcon: IconButton(
                    icon: Icon(isPasswordHidden
                        ? Icons.visibility
                        : Icons.visibility_off),
                    onPressed: () {
                      setState(() {
                        isPasswordHidden = !isPasswordHidden;
                      });
                    },
                  ),
                ),
                validator: (value) {
                  if (value == null || value.length < 6) {
                    return "Password must be at least 6 characters";
                  }
                  return null;
                },
              ),

              SizedBox(height: 25),

              ElevatedButton(
                onPressed: () {
                  if (_formKey.currentState!.validate()) {
                    Navigator.push(
                      context,
                      MaterialPageRoute(builder: (_) => HomeScreen()),
                    );
                  }
                },
                child: Text("Login"),
              ),

              SizedBox(height: 15),

              TextButton(
                onPressed: () {
                  Navigator.push(
                    context,
                    MaterialPageRoute(builder: (_) => SignUpScreen()),
                  );
                },
                child: Text("Don't have an account? Sign Up"),
              )
            ],
          ),
        ),
      ),
    );
  }
}
Step 3: Create SignUp Screen
signup_screen.dart
import 'package:flutter/material.dart';

class SignUpScreen extends StatefulWidget {
  @override
  _SignUpScreenState createState() => _SignUpScreenState();
}

class _SignUpScreenState extends State<SignUpScreen> {

  final _formKey = GlobalKey<FormState>();

  final nameController = TextEditingController();
  final emailController = TextEditingController();
  final passwordController = TextEditingController();

  bool isPasswordHidden = true;

  @override
  Widget build(BuildContext context) {
    return Scaffold(
      body: Padding(
        padding: EdgeInsets.all(20),
        child: Form(
          key: _formKey,
          child: ListView(
            children: [

              SizedBox(height: 60),

              Text(
                "Sign Up",
                textAlign: TextAlign.center,
                style: TextStyle(fontSize: 28, fontWeight: FontWeight.bold),
              ),

              SizedBox(height: 30),

              TextFormField(
                controller: nameController,
                decoration: InputDecoration(
                  labelText: "Full Name",
                  border: OutlineInputBorder(),
                ),
                validator: (value) {
                  if (value == null || value.isEmpty) {
                    return "Enter your name";
                  }
                  return null;
                },
              ),

              SizedBox(height: 20),

              TextFormField(
                controller: emailController,
                decoration: InputDecoration(
                  labelText: "Email",
                  border: OutlineInputBorder(),
                ),
                validator: (value) {
                  if (value == null || value.isEmpty) {
                    return "Enter email";
                  }
                  return null;
                },
              ),

              SizedBox(height: 20),

              TextFormField(
                controller: passwordController,
                obscureText: isPasswordHidden,
                decoration: InputDecoration(
                  labelText: "Password",
                  border: OutlineInputBorder(),
                  suffixIcon: IconButton(
                    icon: Icon(isPasswordHidden
                        ? Icons.visibility
                        : Icons.visibility_off),
                    onPressed: () {
                      setState(() {
                        isPasswordHidden = !isPasswordHidden;
                      });
                    },
                  ),
                ),
                validator: (value) {
                  if (value == null || value.length < 6) {
                    return "Password must be 6+ characters";
                  }
                  return null;
                },
              ),

              SizedBox(height: 25),

              ElevatedButton(
                onPressed: () {
                  if (_formKey.currentState!.validate()) {
                    ScaffoldMessenger.of(context).showSnackBar(
                      SnackBar(content: Text("Account Created Successfully")),
                    );
                    Navigator.pop(context);
                  }
                },
                child: Text("Register"),
              ),
            ],
          ),
        ),
      ),
    );
  }
}
Step 4: Home Screen
import 'package:flutter/material.dart';

class HomeScreen extends StatelessWidget {
  @override
  Widget build(BuildContext context) {
    return Scaffold(
      appBar: AppBar(title: Text("Home")),
      body: Center(
        child: Text(
          "Welcome to Dashboard",
          style: TextStyle(fontSize: 22),
        ),
      ),
    );
  }
}
Key Concepts Used
1️⃣ StatefulWidget
Used to manage UI state like password visibility.
2️⃣ GlobalKey<FormState>
Used to validate form before submission.
3️⃣ TextEditingController
Captures user input from text fields.
4️⃣ Navigator
Handles screen transitions.
5️⃣ Form Validation
Ensures proper data before proceeding.
Real-World Enhancement (Production Ready)
For real applications, integrate authentication with:
-
Firebase Authentication
-
REST API (Node.js / Laravel backend)
-
JWT token handling
-
Secure storage
UI Improvement Tips
-
Use
SingleChildScrollViewto avoid overflow -
Add social login buttons (Google, Facebook)
-
Add loading indicator
-
Add remember me checkbox
-
Use
MediaQueryfor responsive UI -
Use
FormField autovalidateMode
Common Interview Questions
-
Difference between
TextFieldandTextFormField? -
Why use
GlobalKey<FormState>? -
Why Login screen is StatefulWidget?
-
How to manage authentication state globally?
Conclusion
Creating a Login and SignUp page in Flutter is straightforward when you understand:
-
Form handling
-
State management
-
Navigation
-
Validation
This structure is scalable and can be extended with Firebase or backend authentication for production-level applications.

